Building my new Multi GPU Penetration Testing Rig
It was time to build a new penetration testing rig for cracking passwords, as part of my penetration testing audits. I have been using my primary desktop with a Ryzen 5 Pro 4650 GE CPU, with John the Ripper, and Hashcat for password cracking, and although it works well, I needed a more powerful system.
I primarily use my Lenovo ThinkPad with a Ryzen 7 5700U CPU, as my go to system for my onsite audits. I run both Ubuntu and Kali Linux as my operating system, and connect an Alfa WiFi adapter for my WiFi audits. If I’m able to capture password hashes, I attempt to crack them with my desktop. For example, my Ryzen 5 Pro 4650 GE can process 540 MH/s with NTML hashes, however my new multi GPU rig can process 46927 MH/s with NTLM hashes.
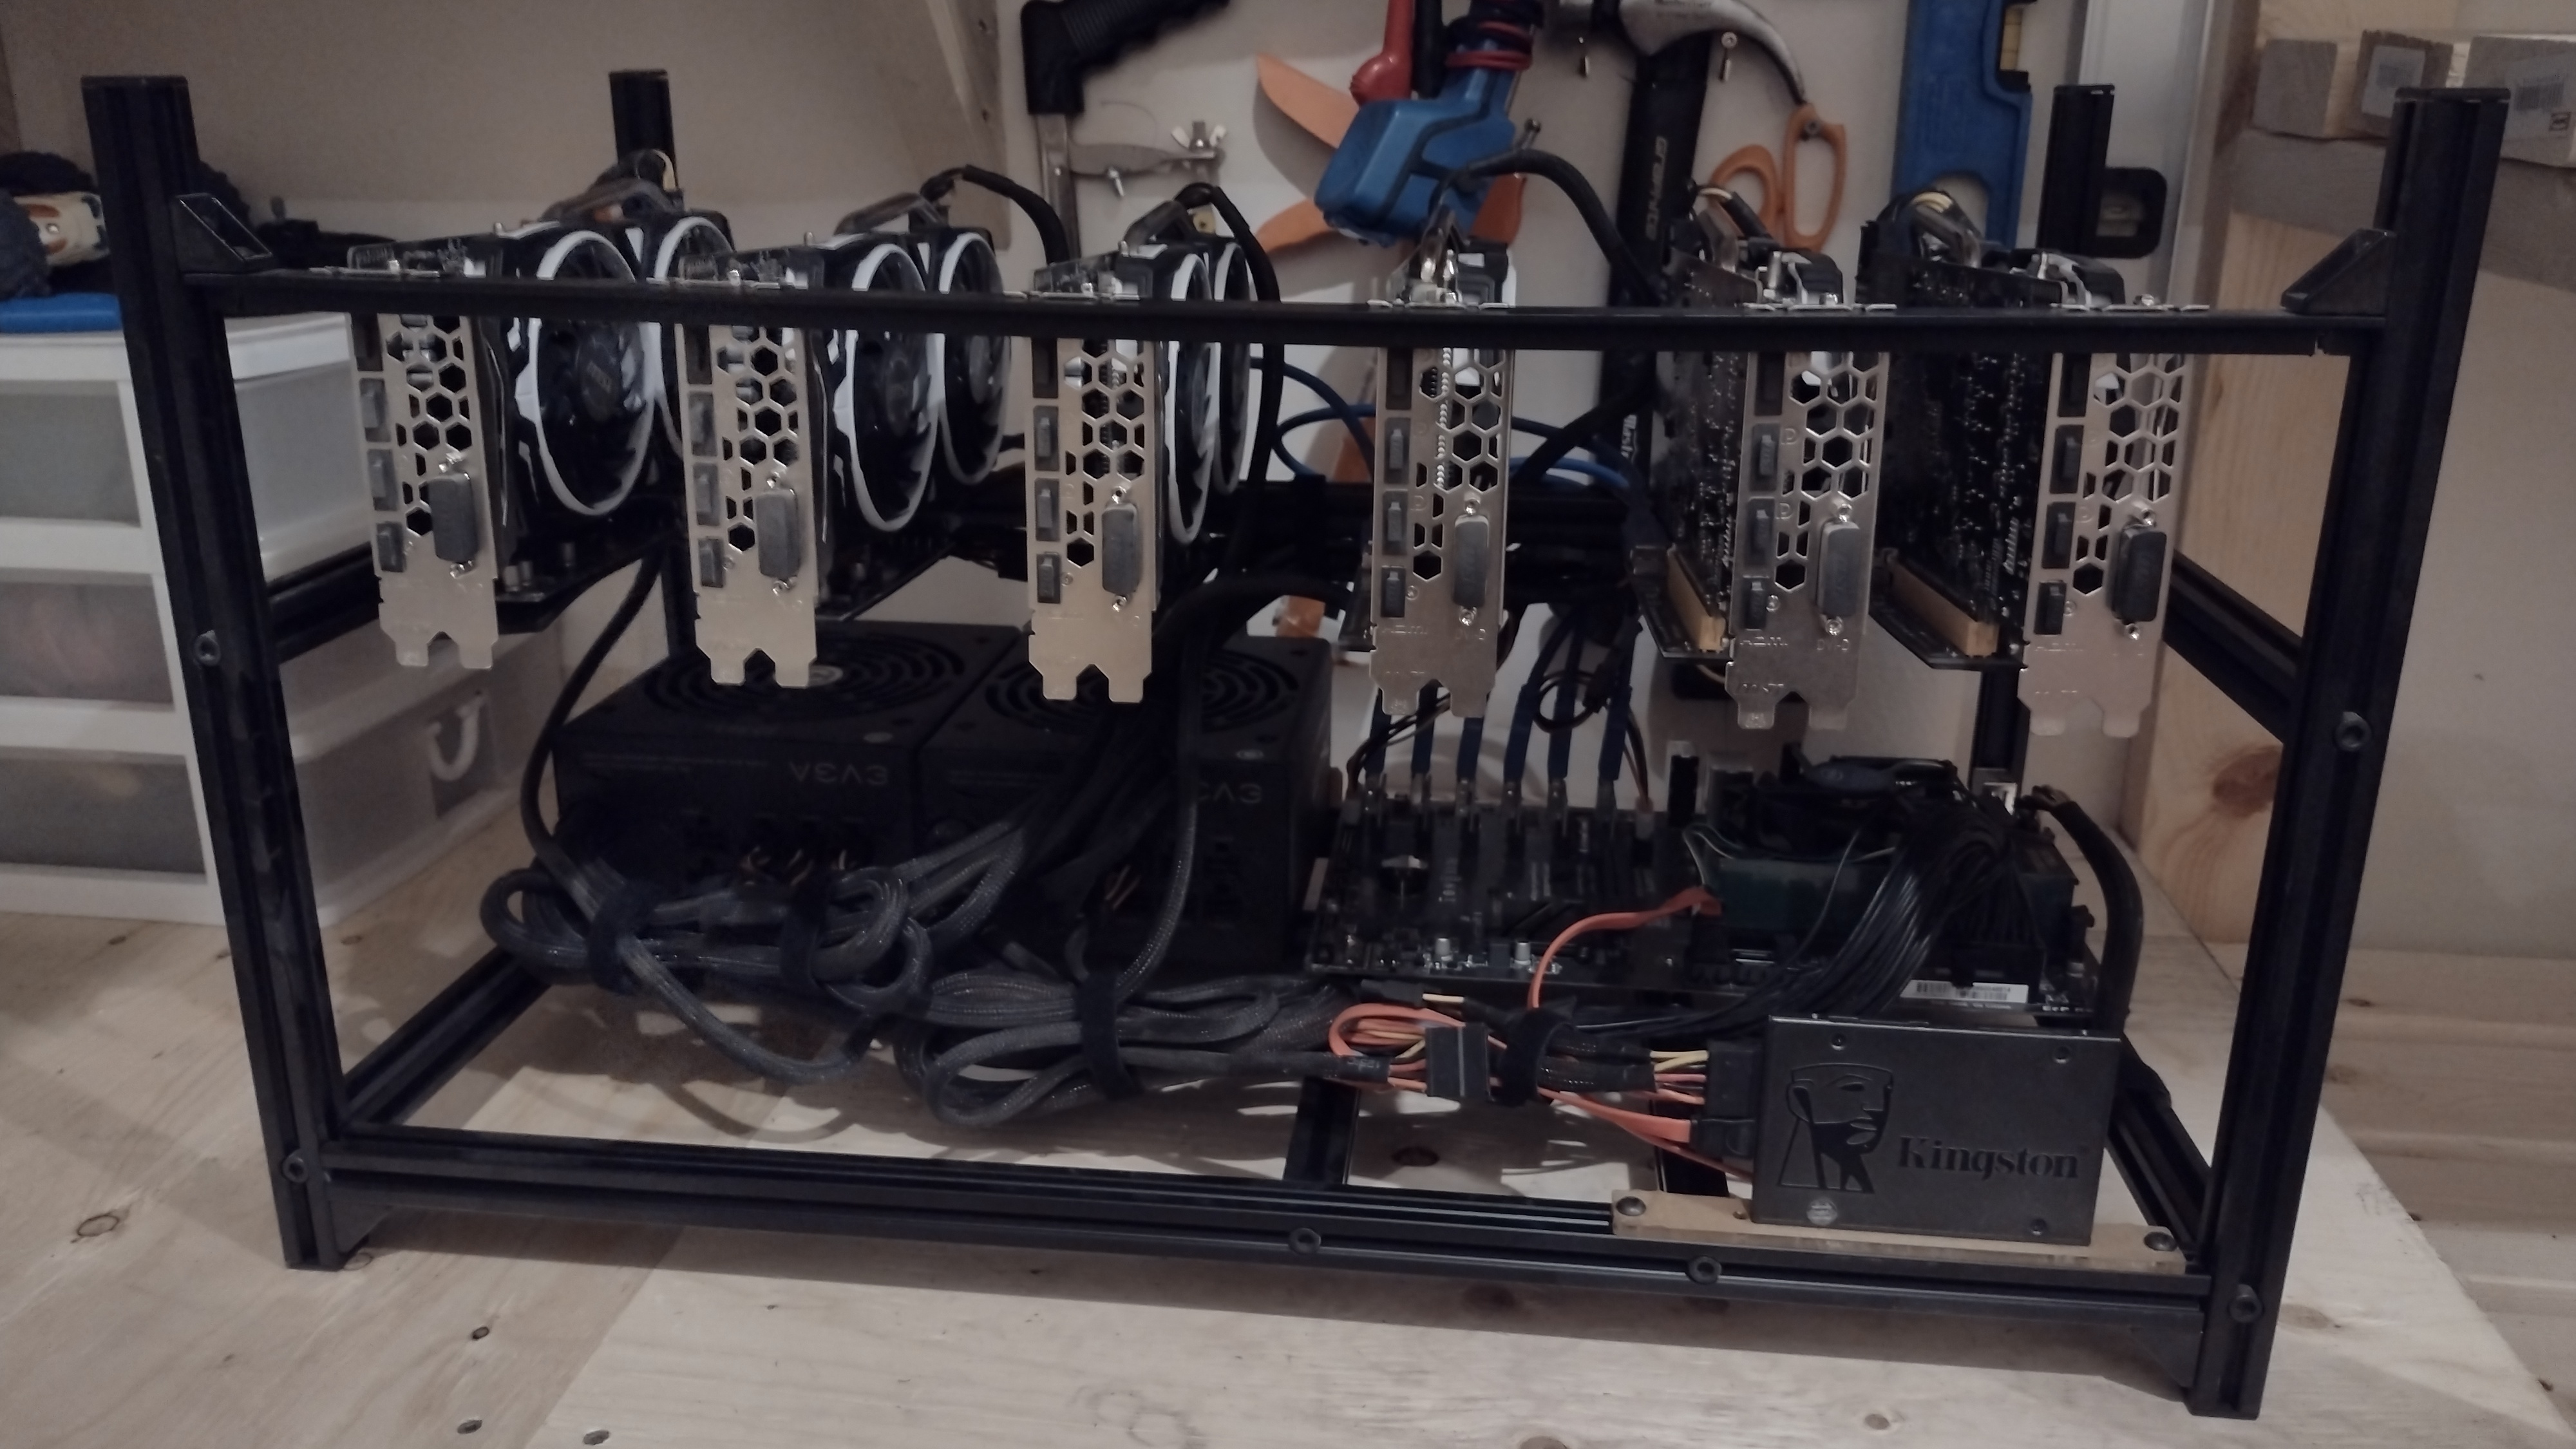
So lets talk about the new rig. I wanted to use Hashcat with multiple GPU’s, and just happened to have an extra six AMD RX 570 8GB cards laying around. With the GPU’s being the biggest part of the rig, I was happy to already own them, because buying six GPU’s now would be pretty expensive. Keep in mind these are older cards, however still perform quite well for this purpose.
Below is a list of the parts I used in my rig:
• Motherboard: Gigabyte H110-D3A
• RAM: 8GB (2x 4GB) sticks of DDR4 2133 MHz
• CPU: Pentium G4400
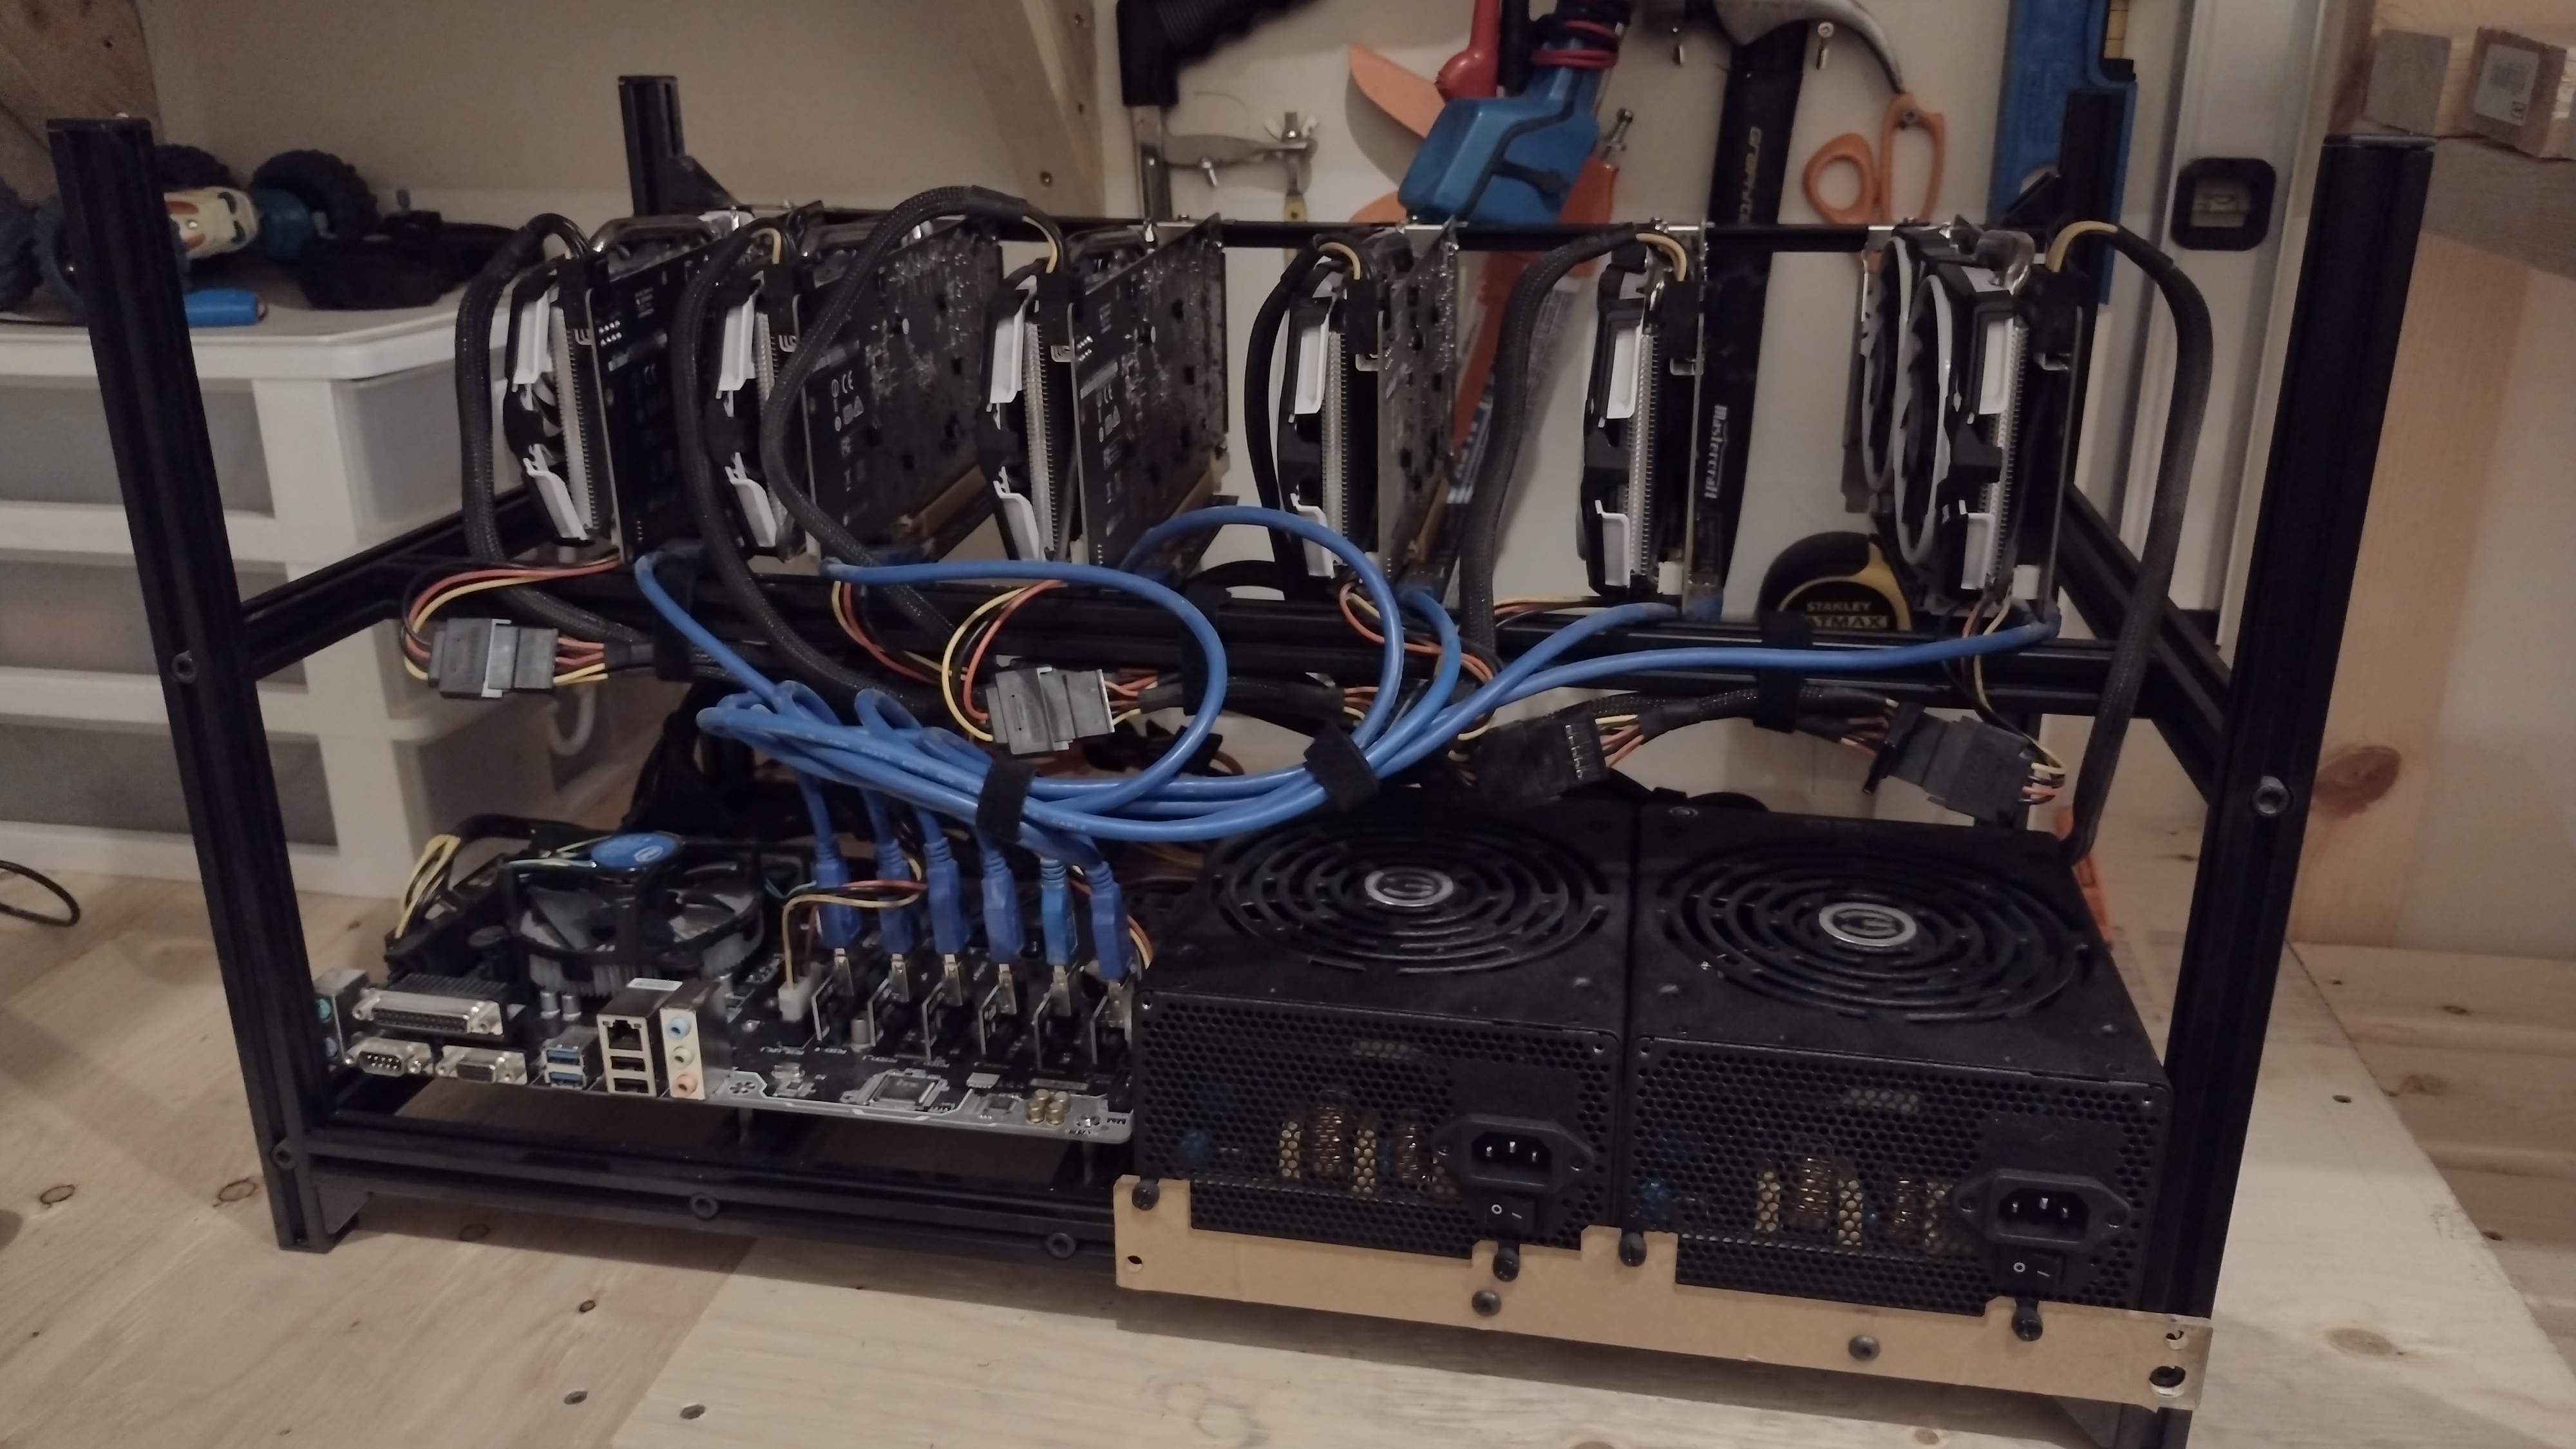
• PSU: 2x EVGA 750 Watt 80+ Gold Rated
• PSU Splitter: ATX splitter cable (to connect two PSU’s to one motherboard)
• GPU Risers: 6x UBIT PCI-E riser cables
• SSD: Kingston 120GB SATA SSD
• Case: VEDDA mining rig frame for 6 GPU’s
• GPU’s: 6x MSI Armour AMD RX 570 8GB
Once I finished building the rig, I booted into the BIOS. I set the system clock, turned on mining mode, and 4G decoding, and saved the settings and restarted. I tested the system with Windows 10 21H2, and Ubuntu Desktop 21.04 LTS, however ran into issues with Hashcat and the AMD drivers. I ended up installing Ubuntu Desktop 20.04 LTS, and everything worked great.
Once Ubuntu Desktop 20.04 LTS was installed, I opened the terminal, and ran “sudo apt update && sudo apt upgrade” to update everything. Once the updates were complete I installed hashcat with the following command “sudo apt install hashcat”. I then installed OpenSSH Server by running the following commands “sudo apt-get install openssh-server”, then enabled the service by typing “sudo systemctl enable ssh”, then started the service by typing “sudo systemctl start ssh”.
Installing the AMD GPU drivers were where things got a bit tricky. I installed the drivers a couple different ways, however Hashcat wouldn’t detect the GPU’s. I then found this forum: https://forums.kali.org/showthread.php?59265-got-AMD-GPU-working-with-Hashcat, and Kirini’s post worked for me. If you are using AMD RX 570 cards like me, then you’ll need to install the “amdgpu-install” package as per the instructions from the link above. The key part was using the “./amdgpu-install –opencl=legacy –headless –no-dkms”, which was the only way I could get it to work, as Kirini outlined in the forum post. Once the driver was installed, I restarted the system. Since I could only get everything to work by using the “--headless” option while installing the AMD driver, you’ll notice you’ll only see a black screen when the system boots into the OS. This was fine for me, as I plan to run the system headless anyway, and simply connect via SSH.
I then connected remotely via ssh to the rig, and ran “sudo hashcat -I” to see if Hashcat detected my cards, which it did. I then ran a Hashcat benchmark by running “sudo hashcat -b”, and my NTLM cracking increased to 46927 MH/s.
All in all, I am happy with the turn out of the look and performance of the system.